~
Install Raspberry Pi OS on a Raspberry Pi
Raspberry Pi OS is the recommended operating system for the Raspberry Pi. It's a lightweight and user-friendly distribution based on Debian. This guide will walk you through the process of installing Raspberry Pi OS on your Raspberry Pi.
Prerequisites
Before you begin, ensure you have the following:
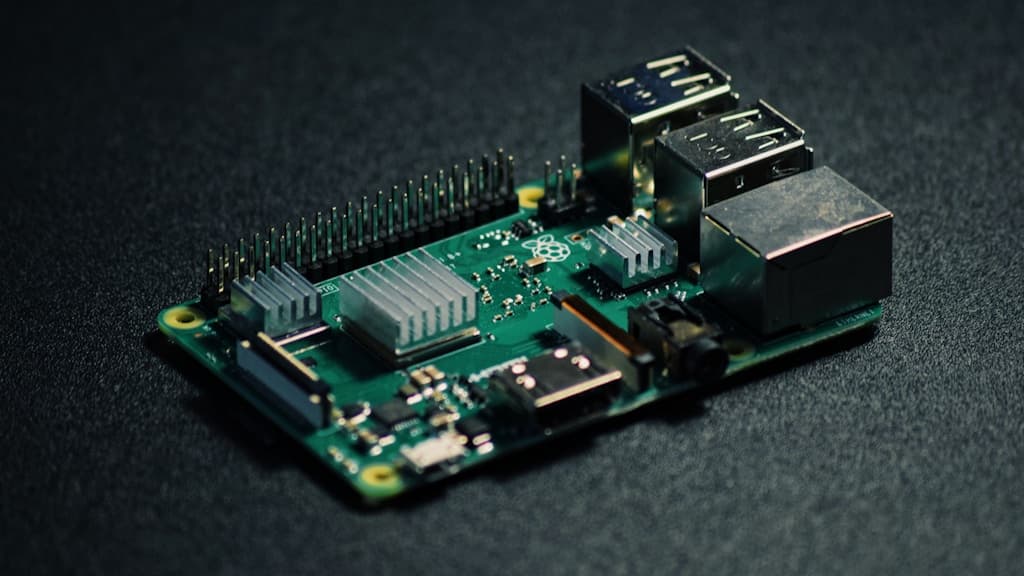
- Raspberry Pi board
- MicroSD card (8GB or larger)
- MicroSD card reader
- Power supply
- HDMI cable (if connecting to a display)
- USB keyboard and mouse
Step 1: Download Raspberry Pi OS
-
Open your web browser and go to the Raspberry Pi Downloads page: https://www.raspberrypi.org/downloads/.
-
Under "Raspberry Pi OS with desktop," click on the "Download ZIP" button to download the latest version of Raspberry Pi OS.
Step 2: Prepare the MicroSD Card
-
Insert the MicroSD card into your computer's card reader.
-
Use an SD card formatting tool (e.g., SD Card Formatter) to format the MicroSD card. Select the appropriate options for formatting.
-
Once formatted, open the downloaded Raspberry Pi OS ZIP file.
-
Extract the contents of the ZIP file. You should have a file with the extension
.img. -
Download and install the Balena Etcher application from https://www.balena.io/etcher/.
-
Open Balena Etcher and click on the "Select Image" button.
-
Browse and select the
.imgfile you extracted earlier. -
Click on the "Select Target" button and choose the MicroSD card you inserted.
-
Double-check that the correct MicroSD card is selected, then click on the "Flash!" button to write the Raspberry Pi OS image to the card. This process may take a few minutes.
-
Once the flashing process is complete, safely eject the MicroSD card from your computer.
Step 3: Install Raspberry Pi OS
-
Insert the MicroSD card into the Raspberry Pi's MicroSD card slot.
-
Connect the Raspberry Pi to a display using an HDMI cable.
-
Plug in a USB keyboard and mouse into the Raspberry Pi's USB ports.
-
Connect the power supply to the Raspberry Pi. It will boot up and start the installation process.
-
Follow the on-screen instructions to configure your Raspberry Pi OS installation. You'll set your preferred language, keyboard layout, and create a username and password.
-
Once the installation is complete, you'll be taken to the Raspberry Pi OS desktop.
Conclusion
Congratulations! You have successfully installed Raspberry Pi OS on your Raspberry Pi. Now you can start exploring and utilizing the capabilities of your Raspberry Pi for various projects and experiments.
Please note that this guide provides a basic installation process, and you can further customize and configure your Raspberry Pi OS based on your specific needs and requirements.
Resources
Story Time
I've been using Raspberry Pi OS for a while now, and I've found it to be a great operating system for the Raspberry Pi. It's lightweight, user-friendly, and has a lot of useful features. I've used it for various projects and experiments, and it has never let me down.
Infact, I'm using Raspberry Pi OS to handle my DNS updates for my home server.
Special Thanks
Photo by Stefan Cosma on Unsplash
Comments
Feel free to share your thoughts, feedback, or questions about installing Raspberry Pi OS on a Raspberry Pi in the comments section below. Let's engage in meaningful discussions and explore the endless possibilities of Raspberry Pi projects!
Please Note: Sometimes, the comments might not show up. If that happens, just refresh the page, and they should appear.